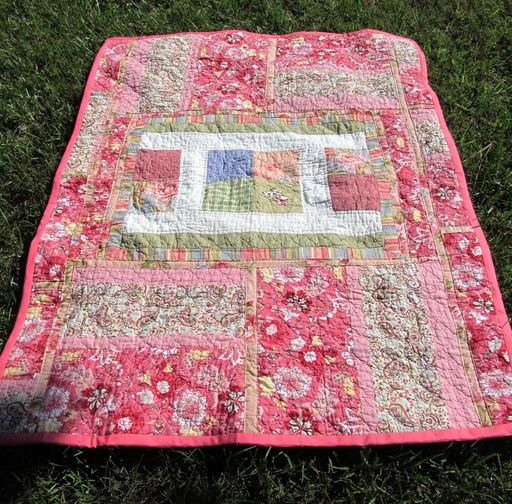
This is my Gypsy quilt that I made during Hurricane Matthew, constructed entirely of cutter quilt pieces, an old quilted pillow sham, the sham's backing fabric and some vintage soft white muslin. Even the binding is a leftover from another project. I tried this as an experiment to see if I could make a new quilt out of some old quilted pieces, and it turned out even better than I expected (the Roman numeral II in the center was just a happy accident, btw.)
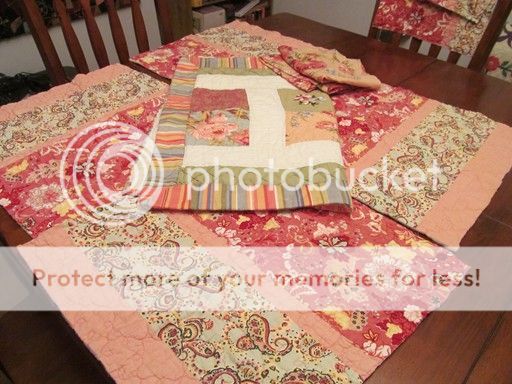
Here you see what I started with as raw materials. My pillow sham had different fabrics from the pink quilted pieces, but the colors went well together. For more contrast or a crazier look, you can use pieces that are all wildly different. You'll want to trim and lay out everything as you want it to fit together to assure you don't have any spaces between your quilted pieces. Also, keep your main pieces fat-quarter size or bigger to cut down on the number of joining strips you'll have to use to put them together.
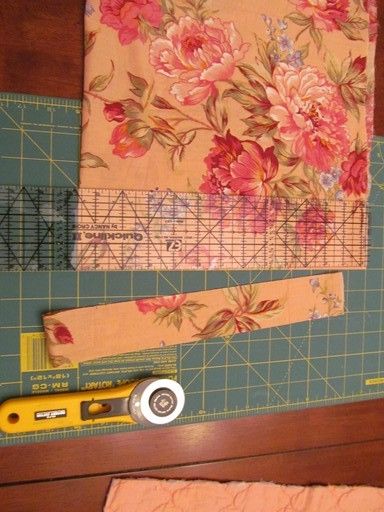
I cut the pillow sham backing fabric into 2" strips, which I ironed into 1-1/2" strips with 1/4" folds on either side. These strips are what you use to join the pieces of your quilt together. You can also use wide single-fold bias binding if you don't want to iron strips.
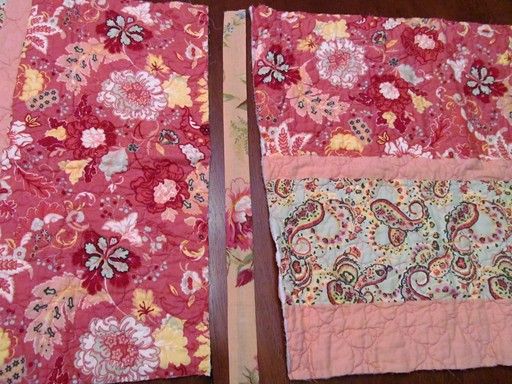
It's important to have very straight edges on your quilted pieces, because you're going to join them together with your folded/bias strips. Pin them together so the quilted piece edges are flush, not overlapping, under your folded/bias strips, and then sew down (by hand or by sewing machine) each side of the strips. Two notes on this step: If your quilted pieces are very thick you'll probably need to use a walking foot on your sewing machine. Also, if you don't want to do any hand-sewing, start joining the back of the quilt first, and make your strips for the back 1/4" to 1/2" narrower than your strips for the front of the quilt, so the front strips hide the machine stitching.
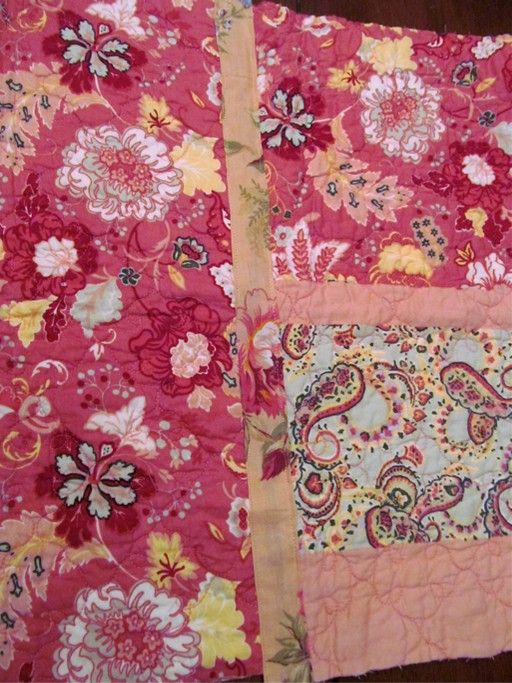
This is what it looks like when you join two quilted pieces together. From there you just have to pin and sew your strips all over.
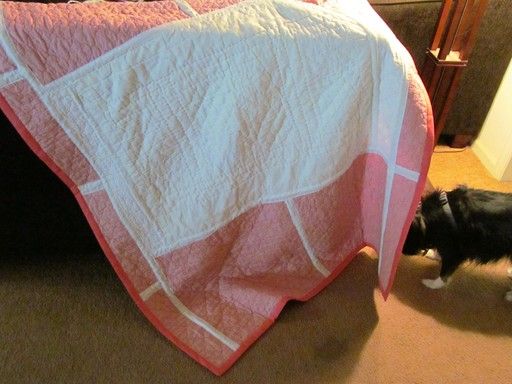
The back of my quilt, with Skye hiding her head behind it. I hand-sewed the white strips to cover the joined seams on the back because we didn't have any power.
Because the pieces I recycled for this were already quilted, once I finished sewing my joining strips all I had to do was bind the quilt, and it was done -- and it took only four days from start to finish. If you have some old damaged quilts or quilted pieces you want to recycle, this is a fun way to make them into a practical, pretty project. This also works if you want to quilt smaller pieces and then join them together (versus piecing and basting your layers and then quilting the whole quilt.)
My idea was inspired by Bill Peschel's wife, Teresa, and her series of very cool NotQuilt posts on his blog.

It's...pink! ;)
ReplyDeleteAnd it's gorgeous! It looks soft and already broken in which is a wonderful thing.
I see tattered quilts at garage sales all the time. Usually, the people are selling them for a dollar. It never occurred to me you can recycle them.
ReplyDeleteYour eye for color is spot on too. The floral complemented the original perfectly.
It's gorgeous! I'm not a pink lover, but I love this quilt!
ReplyDeleteThanks for mentioning Teresa's series and for showing us what you've been doing in that line. It's fun to create things that don't require a computer. Or words.
ReplyDeleteWhat a lovely quilt and an excellent project during a very trying time. I love the Roman numeral!
ReplyDelete