Showing posts with label Spoonflower. Show all posts

Sunday, October 23, 2011

Mini-Project #3: Book Bag

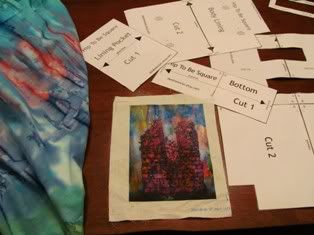
For my final Spoonflower mini-project I decided to make a book bag, and for the design a free pattern I could find available online. I chose this Hip to be Square pattern posted on Craftbits.com because it was a good size, looked different and came with a free .pdf of the pattern pieces I could print out on standard paper.

At first I didn't bother to register with the site to get the printable version of the sewing instructions. It was a little bag; I thought I could figure it out from the pattern pieces. (we'll call this Major Mistake #1. Print out and read the instructions before you try putting it together.)

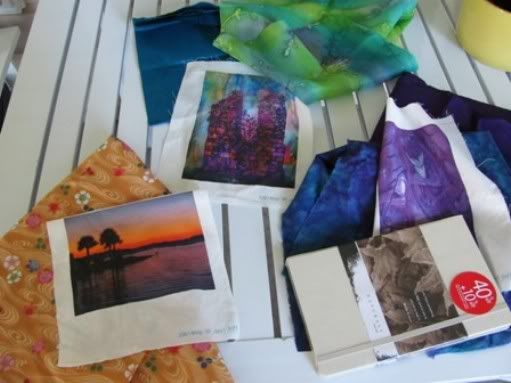
Originally I had picked out a pretty embroidered organza to use for the front panel, but on closer inspection I found that even lined it would be a bit too delicate for my application. Fortunately I am an abstract batik junkie, and among my stash I found a pretty remnant that almost exactly matched the background of my swatch. It was thin cotton, but I figured I'd just double up on the batting (yes, I also decided to bat it to give it some substance versus using a heavier textile as the pattern maker suggested. Major Mistake #2.)
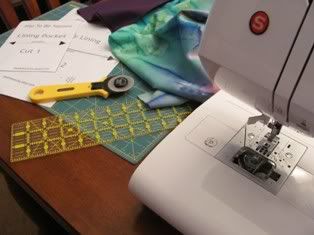
I started cutting and sewing, and quickly discovered that I wasn't putting it together correctly. I'm stubborn, of course, so I ripped out the seams and tried two more times before I finally accepted that no, guessing wasn't going to get the job down, and went back to register with the site to get the printed instructions (registration is free and all they want is your e-mail.)

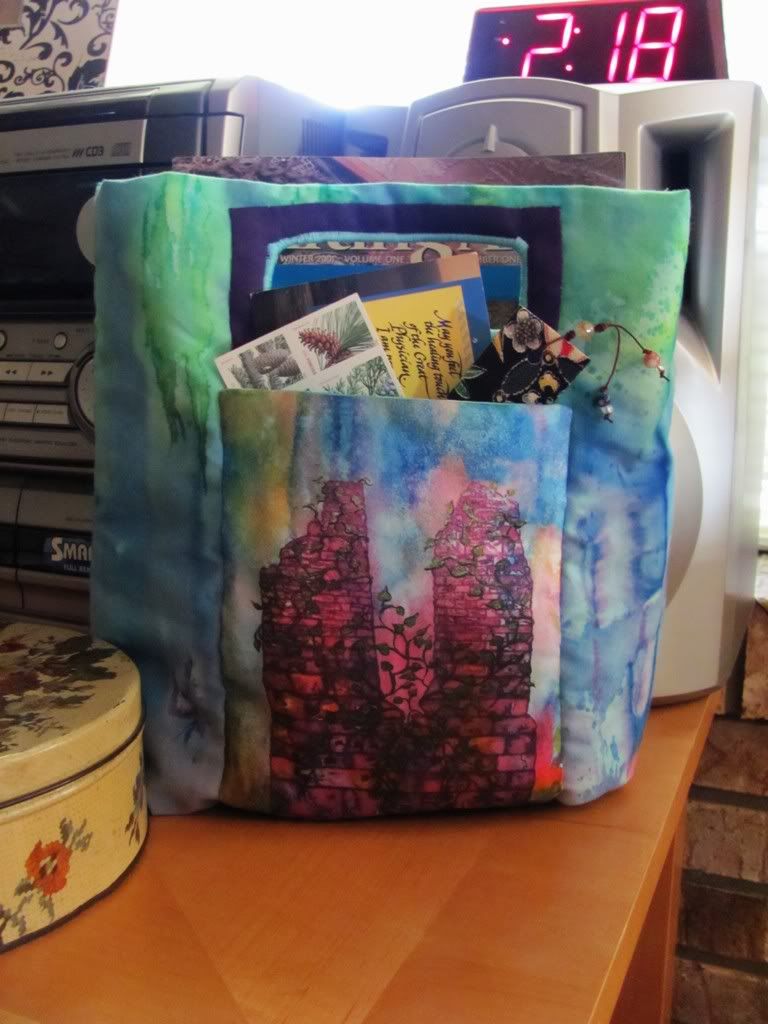
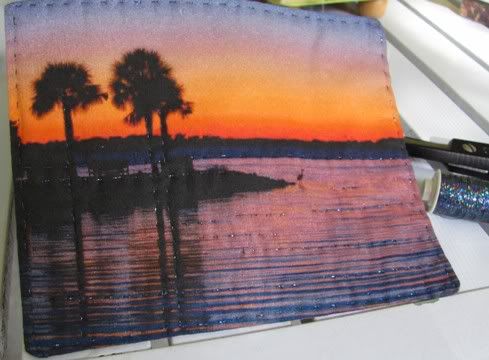
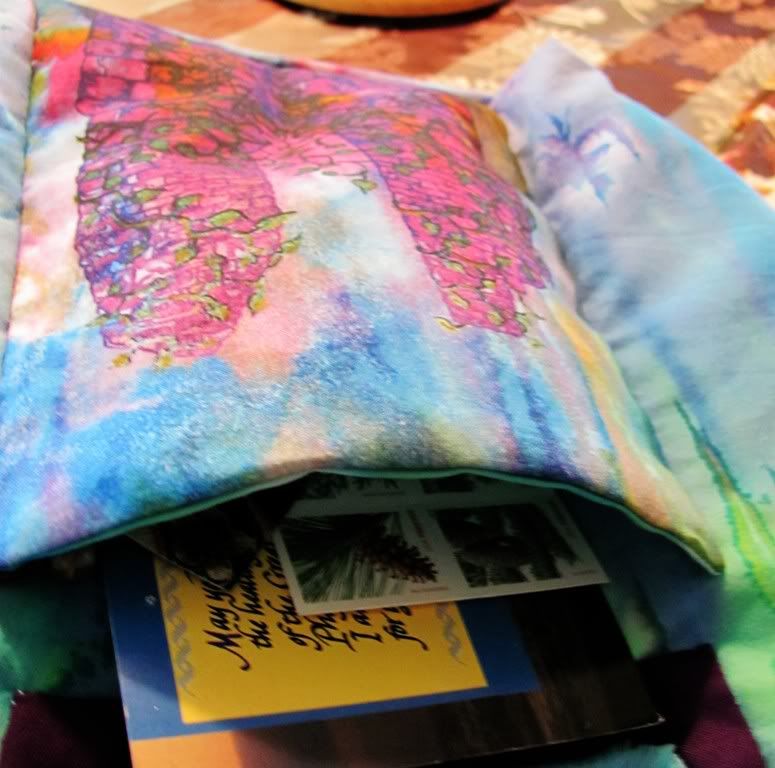
Here's the finished bag:


I did make some adjustments to the pattern. I intended to use the opal tower swatch from Spoonflower as a patchwork inset, but it was the right size to make another pocket, so I made it into one and added that to the outside of the bag. I used contrasting broadcloth for the handle on one side, but it was such a pain to sew in place I decided to just run a satin stitch around the edges of the handle on the other side -- and in the end I actually liked the look of that better than the handle.

Because I didn't bother to quilt any of the component pieces I also had to constantly pin and repin the batting to keep it from bunching up while I was putting the tote together. To avoid this problem if you want to bat yours, definitely quilt the pieces before you assembly them into the tote.
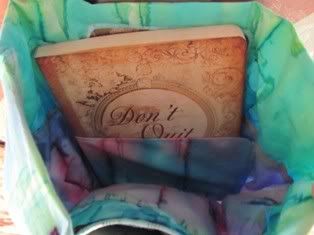
The things I love about this pattern are that there are no handles to attach; they're built into the bag. The size is good -- almost more like a purse than a tote -- but not so big that it feels like you're carrying luggage. It has a roomy inner pocket you attached to the lining, but you can probably add more to suit your needs. In fact if you're good with altering patterns you could probably make this work for more than just a book bag; with some resizing and different fabrics and notions you could probably use it to make a gift bag, a smaller make-up bag or even a clutch purse.

My final Spoonflower project will be the quilt I'm planning to make with the yardage I designed. I haven't started that as some other fabric I need won't be arriving until next week, but as soon as I have it done I'll post some pics and tell you how it went.

Friday, October 14, 2011

Mini-Project #2: Journal Cover

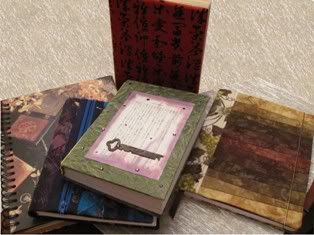
I've been keeping a daily handwritten journal since 1974, and each year I fill up at least a dozen, sometimes more. I also love to give beautiful blank journals as gifts (and as a nudge to do more non-electronic writing.) I often purchase the journals I use from some very talented journal makers over on Etsy.com, but I also like to make or makeover my own.
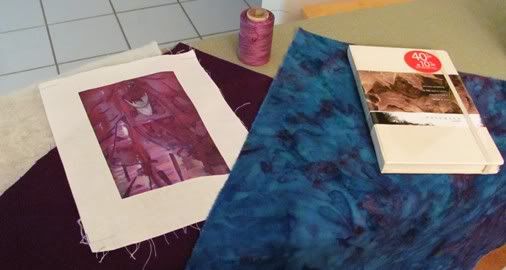
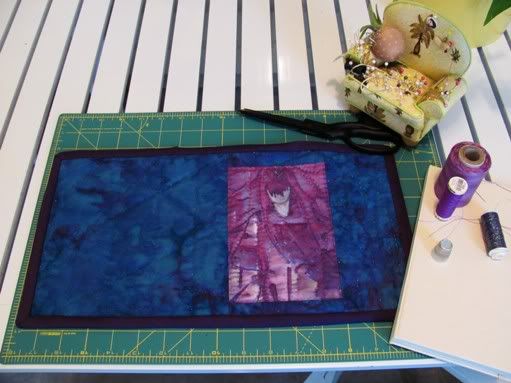
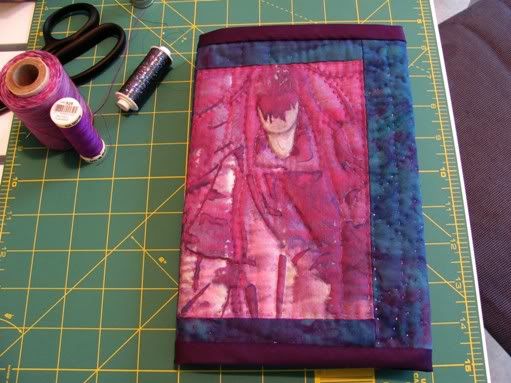
My favorite journals to makeover are the ones no one wants; the premade blank books that you see in the scratch-n-dent discount bins at the bookstore. I always feel like I'm rescuing them. The biggest problem with discounted premades is that they generally have dinged, soiled or unsightly covers, but that's easy to fix with a new cover.

The journal covers I make are simply larger versions of a mug mat that are sized, wrapped around and sewn onto a premade blank book. To make one, you'll need a journal to cover, two pieces of fabric, batting if desired, binding if desired, pins, needle, measuring tape and thread.

Before you begin, you will need to do some measuring and some math. To cover a journal, you want to cut your fabric according to these calculations:

Width of fabric = width of front cover + width of back cover + width of spine + width of 2 inner flaps + 1/2" for seam allowances.

Length of fabric = length of front cover + 1/2" for seam allowances.

The inner flaps can be any width you desire up to the total width of the front or back cover. I don't like wide flaps so I size mine around two or three inches. Also, if you plan to use batting and quilt the piece, I suggest adding 1/8" to 1/4" to the width as well as the length of your fabric to allow for the pull of the loft.


If the journal you're covering is in the pocket-size range and you don't want to mess with binding, you can sew it the same way I made the mug mat, by placing your top and bottom fabrics right sides together and sewing around the edges, leaving a gap for turning.

If your journal is paperback book size or bigger and needs a larger piece to cover it, it's probably best to make your cover like a mini-quilt: with the right sides facing out, sandwich your fabrics together (batting goes in the middle), pin or baste-stitch together, quilt as desired and bind with bias binding.


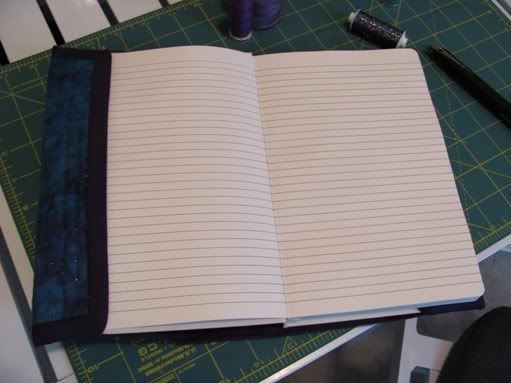
Fabric and thread choices are where you can get really creative and have fun with this project. Because I was working with the vral image test swatch I ordered from Spoonflower, for the outer cover I pieced it with some fabric hand-dyed by an old friend of mine, then quilted the vral patch with matching variegated thread and my friend's fabric with metallic Sulky. For the inside/backing fabric I used a solid color piece to match the binding because it won't be seen.


Once you've completed your cover, fit it to the journal and whip or blind-stitch the top and bottom edges of both inner flaps to the edge of the front and back cover edges to hold it in place (you can also use tacky or hot glue but I find that tends to be messy and leaves glue spots showing on the fabric.) Another bonus of sewing the flaps is that it creates an inner pocket where you can stow a pen or bits and pieces or use it as a page tuck.

Journals with handmade covers are great for kids, loved ones, writer friends or any notebook junkie. Personalize the fabric you use for your cover to suit your recipient, then pair it with a pretty pen, a box of photo corners or a CD of music to write by, and you've got a terrific gift for any occasion.

Friday, October 07, 2011

Mini-Projects

An update on the Spoonflower fabric: I've washed it according to the site's directions, and both the yardage and the test swatches came out fine; no color transfer or fading of the images, and only minimal fraying on the edges. Once washed the fabric has a nice, dense, cottony hand to it; almost like a lightweight linen. You will probably need to steam iron it to get out wrinkles.

For the yardage I designed I'm waiting on some companion fabrics, which should arrive next week, before I begin that project. That gives me the test swatches to work with, and I decided to make them into three mini-projects: a mug mat, a journal cover and a book bag.

Since these work well as gifts for writers or readers I thought I'd show you how to do each mini-project. Anyone with basic hand sewing skills or who can run a straight stitch on a sewing machine should be able to handle them with no problem.

Mini-Project #1: Mug Mat


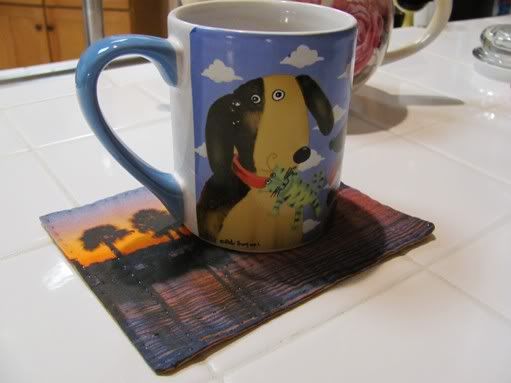
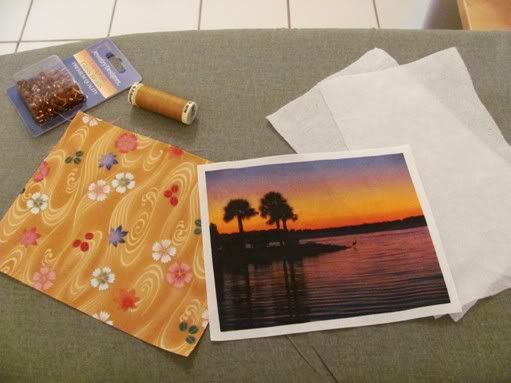
A quilted mug mat, or fabric coaster, is made of two small pieces of fabric sewn together. You can put low-loft (thin) batting or a piece of soft flannel between them, but I like to use recycled dryer sheets.


Cut two pieces of fabric and one piece of batting or lining material in the size you want plus 1/4" on all sides to create the seam allowance you'll need for sewing. Press and place the fabric with the right sides together (the wrong or undersides of the fabric should be facing out on both sides) and pin together around the edges. If you can't eyeball 1/4" or sew a straight line freehand, take a ruler and a pencil and lightly mark your sewing lines 1/4" from each edge.

Starting one inch from any corner, sew all the way around the fabrics but stop two inches from where you began (this creates a gap, which you'll use to turn your project inside out.) Baste or whip stitch a piece of batting, flannel or other lining to either side of fabric, sewing it in the same fashion to match the gap. Clip the corners and turn inside out, press and sew the gap closed with a blind stitch.


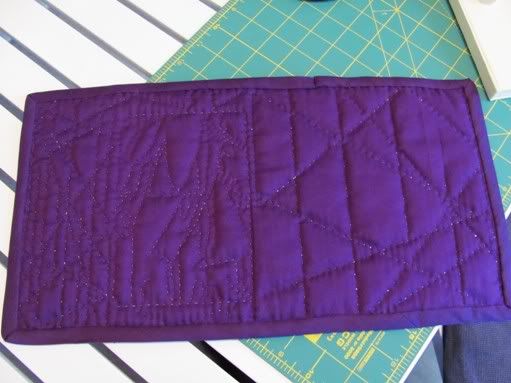
You can hand or machine quilt the mug mat however you like; because there's no binding I always run a stitch around the edges to secure the seams. For my mug mat I used a metallic Sulky and quilted random lines to give it a little sparkle. If you don't care for the edges you can sew a frame of lace or beads around the edges -- here's one I beaded along the edges -- but don't use anything dimensional to embellish the center of the mat as it needs to remain flat.

Writers, if you're handy with a sewing machine you should be able to make up a couple dozen of these over a weekend to give out at your next booksigning or appearance. I'd suggest either designing the mug mat on Spoonflower or using fabric that coordinates with your cover art or somehow relates to your story. You can ink jet on printable fabric panels your book and web site info for the bottom side (or you can write this on the bottom fabric with a fine-tipped Sharpie, too. Just tape down the fabric first; it tends to move when you try to write on it.)

For the winter holidays, a set of four or six mug mats stacked in a small, pretty box or rolled up and placed in a neat mug do make a nice friend or hostess gift, especially if you coordinate the fabric to match your recipient's decor.

Tuesday, September 27, 2011

Spoonflower Delivers

The fabric I custom designed and ordered from Spoonflower arrived while I was out of town, and I have photos and intel to share.

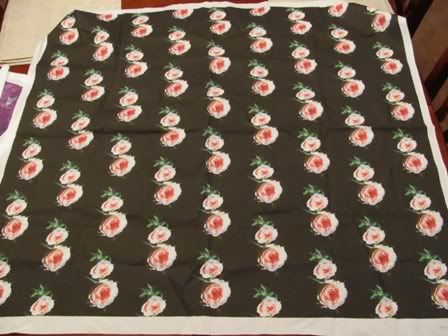
First, the yardage:


This came folded neatly with only a few/minimal wrinkles that will likely disappear after I wash it. My design was vividly printed on very crisp, lightweight white cotton foundation material (I think I read that they use Moda fabric but don't quote me on that.) There is no raised or plastic feel to the material, which makes it nicer than the fabric sold for inkjet printers. The packing slip included laundering directions for all the types of fabric the site sells, which is an excellent idea.

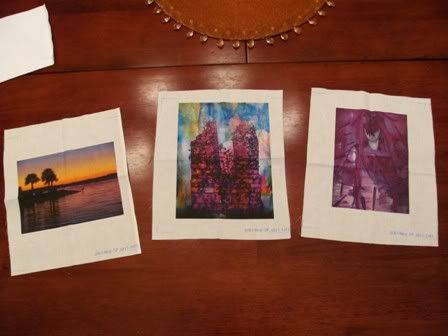
I also ordered some test swatches of my photo banner and two paintings to get a look at how they handle complicated colors and palettes as well as image details:


I'm quite happy with these. Swatches are a good idea if you're not sure about your design as they don't cost as much as yardage but still give you a realistic preview of what a bigger piece will look like. Here's a closeup of the banner photo:


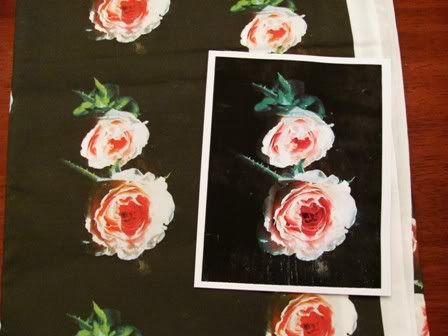
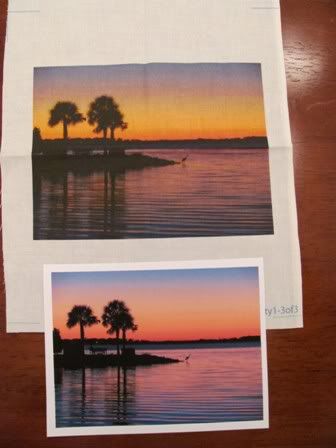
The final test was to compare the finished fabric to the original photos I used for the designs. There were some slight color variations, and a little of the tiny details didn't translate onto the fabric, but I'm quite satisfied with how well they matched my image:


Here's another comparison:


Production and shipping were actually faster than promised, so no complaints at all there.

Bottom line: this was fun, easy to do and I really like the results. If you want your colors matched perfectly, I recommend ordering a test swatch of your design first (and I'm not sure if you can tweak the colors after you get your swatch or you have to upload a tweaked image, so you may want to check on that at their site.)