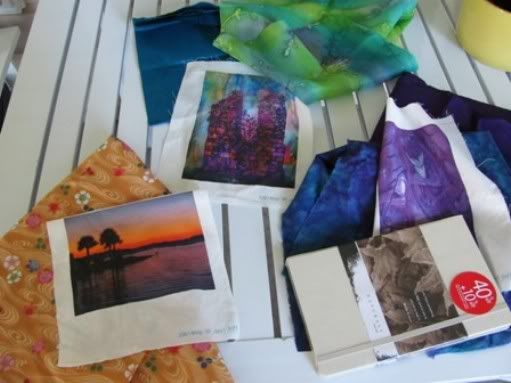
For the yardage I designed I'm waiting on some companion fabrics, which should arrive next week, before I begin that project. That gives me the test swatches to work with, and I decided to make them into three mini-projects: a mug mat, a journal cover and a book bag.
Since these work well as gifts for writers or readers I thought I'd show you how to do each mini-project. Anyone with basic hand sewing skills or who can run a straight stitch on a sewing machine should be able to handle them with no problem.
Mini-Project #1: Mug Mat
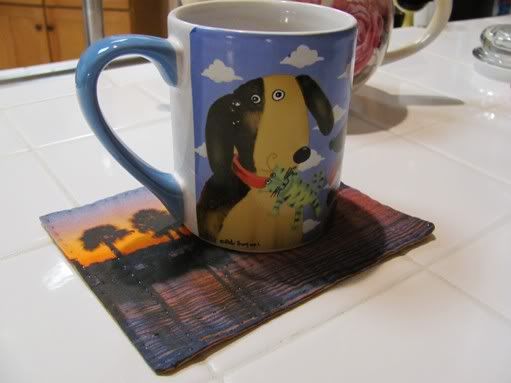
A quilted mug mat, or fabric coaster, is made of two small pieces of fabric sewn together. You can put low-loft (thin) batting or a piece of soft flannel between them, but I like to use recycled dryer sheets.
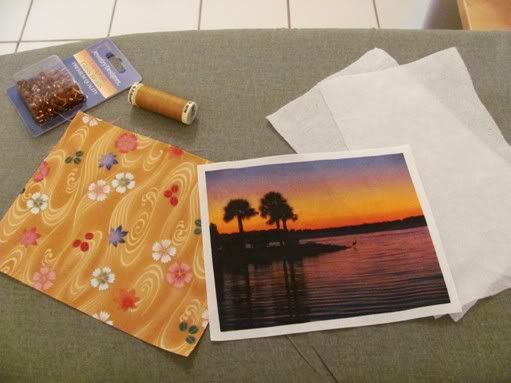
Cut two pieces of fabric and one piece of batting or lining material in the size you want plus 1/4" on all sides to create the seam allowance you'll need for sewing. Press and place the fabric with the right sides together (the wrong or undersides of the fabric should be facing out on both sides) and pin together around the edges. If you can't eyeball 1/4" or sew a straight line freehand, take a ruler and a pencil and lightly mark your sewing lines 1/4" from each edge.
Starting one inch from any corner, sew all the way around the fabrics but stop two inches from where you began (this creates a gap, which you'll use to turn your project inside out.) Baste or whip stitch a piece of batting, flannel or other lining to either side of fabric, sewing it in the same fashion to match the gap. Clip the corners and turn inside out, press and sew the gap closed with a blind stitch.
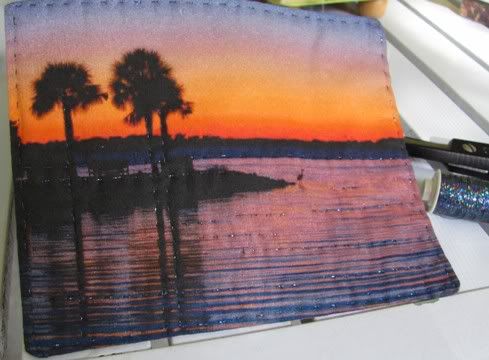
You can hand or machine quilt the mug mat however you like; because there's no binding I always run a stitch around the edges to secure the seams. For my mug mat I used a metallic Sulky and quilted random lines to give it a little sparkle. If you don't care for the edges you can sew a frame of lace or beads around the edges -- here's one I beaded along the edges -- but don't use anything dimensional to embellish the center of the mat as it needs to remain flat.
Writers, if you're handy with a sewing machine you should be able to make up a couple dozen of these over a weekend to give out at your next booksigning or appearance. I'd suggest either designing the mug mat on Spoonflower or using fabric that coordinates with your cover art or somehow relates to your story. You can ink jet on printable fabric panels your book and web site info for the bottom side (or you can write this on the bottom fabric with a fine-tipped Sharpie, too. Just tape down the fabric first; it tends to move when you try to write on it.)
For the winter holidays, a set of four or six mug mats stacked in a small, pretty box or rolled up and placed in a neat mug do make a nice friend or hostess gift, especially if you coordinate the fabric to match your recipient's decor.

What a grand idea and thanks for showing me something my fabric is waiting to do.
ReplyDeleteYour mugs are so wonderful. May I ask where they were found?
I have been gearing up for Christmas. Having a set of these for one of the days of Secret Santa at work will be handy. Thanks for a great idea.
ReplyDeleteYou know, that would be a very cool idea if they were made with the cover of one of your books.
ReplyDeleteJust sayin'...